Exporting Workflow Event History to GCS
Prerequisites
Before configuring the Export sink, please complete the following steps in Google Cloud.
- Create a GCS bucket and take note of its bucket name, for example, "test-export"
- If you wish to enable customer-managed encryption keys (CMEK), do so.
- Record the GCP Project ID that owns the bucket.
- Set up a service account in the same project that trusts the Temporal internal service account to let Temporal write information to your account.
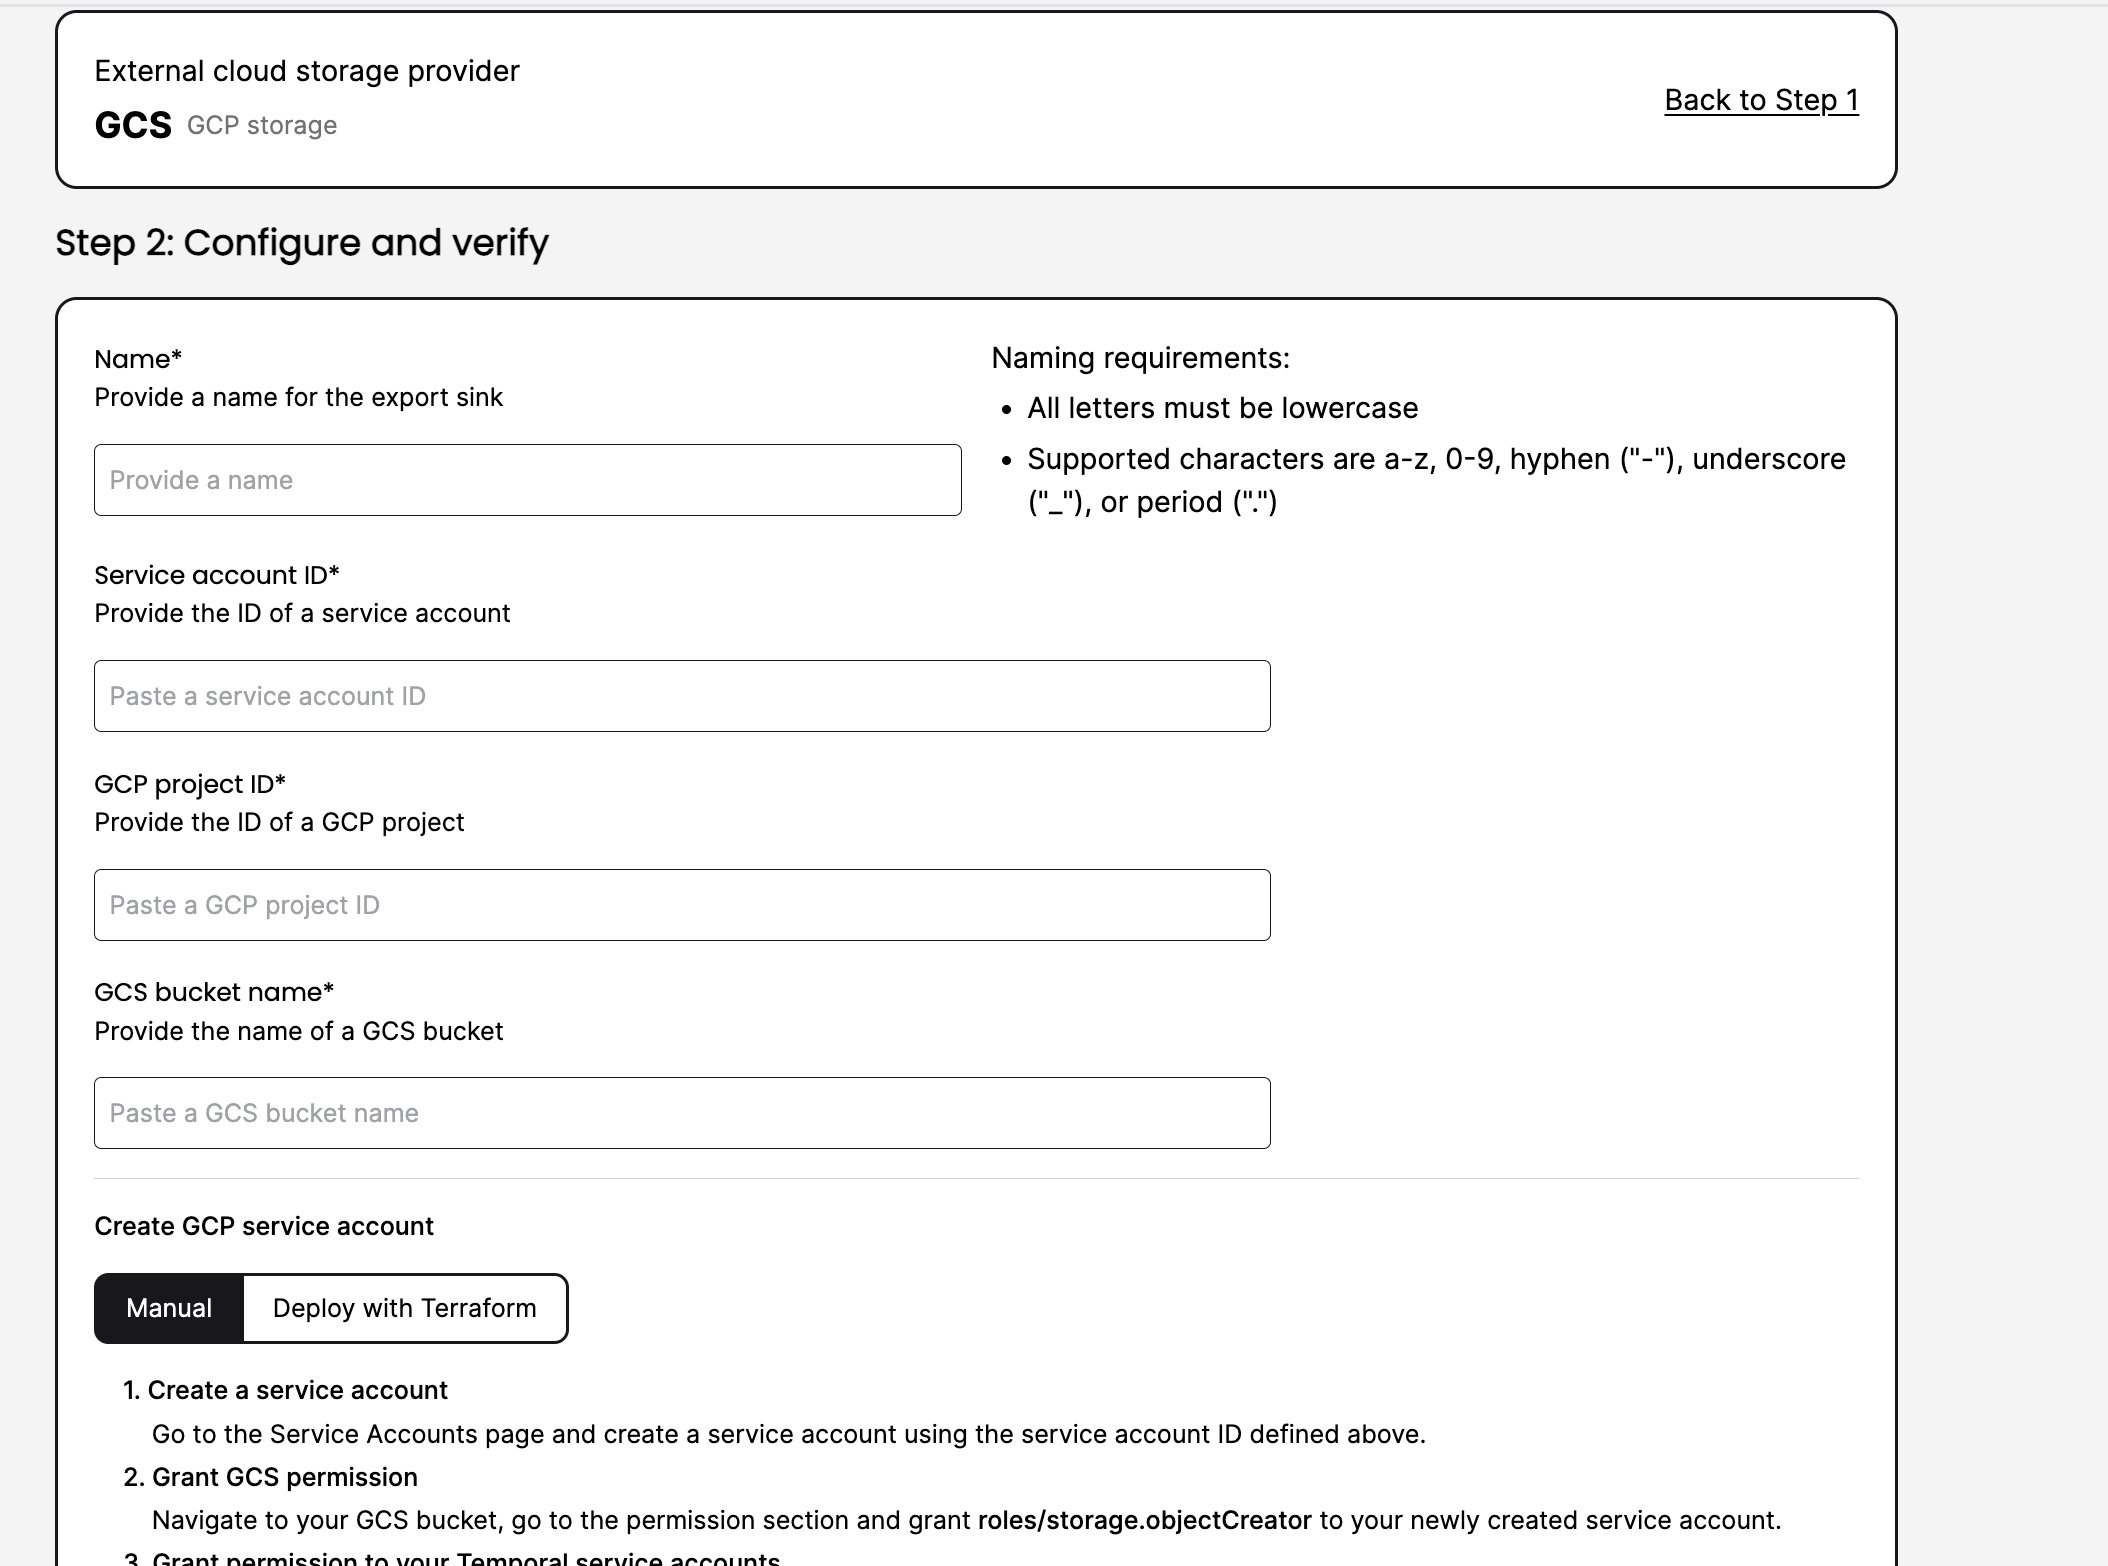
- Follow the instructions in the Temporal Cloud UI, there are two ways to set up this service account:
- Input the service account ID, GCP project ID and GCS bucket name.
- Follow the instructions, manually set up a new service account.
- Use the Terraform template to create the service account.
- Input the service account ID, GCP project ID and GCS bucket name.
Configure Workflow History Export
How to configure Workflow History Export
You can use either the Temporal Cloud UI or tcld to configure the Workflow History Export.
Using Temporal Cloud UI
The following steps guide you through setting up Workflow History Export using the Temporal Cloud UI.

- In the Cloud UI, navigate to the Namespaces section. Confirm that the Export feature is visible and properly displayed.
- Configure the Export sink for a Namespace:
- Choose GCS as the Sink type.
- Provide the following information:
- Name: [User-defined]
- Service account ID: [from Prerequisite 3]
- GCP Project ID: [from Prerequisite 2]
- GCS bucket name: [from Prerequisite 1]
- After inputting the necessary values, click on Verify. You should be able to write to sink successfully. If not, please fix any errors or reach out to support for help.
- Clicking Create will complete the Export sink set up
- The page will auto-refresh and you should see the status “Enabled” on the Export screen. You are now ready to export workflow histories.
- You can toggle the enable button if you want to stop export and resume in the future. Note: when you re-enable the feature, it will start from the current point in time, and not from the time when you disable export.
- You can also delete export by clicking Delete.
Don't forget to click Create at the end of your setup to confirm your export.
Using tcld
To access export-related commands in tcld, please follow these steps:
-
Download the latest version of tcld. [https://docs.temporal.io/cloud/tcld/#install-tcld]
-
Make sure tcld version is v0.17.0 or above.
-
Run the command:
tcld f toggle-exportandtcld f toggle-gcp-sink. This command enables the export GCP sink feature in tcld- After enabling the feature, you can find the export-related commands by running
tcld n export gcs:
NAME:
   tcld namespace export gcs - Manage GCS export sink

USAGE:
   tcld namespace export gcs command [command options] [arguments...]

COMMANDS:
   create, c    Create export sink
   update, u    Update export sink
   validate, v  Validate export sink
   get, g       Get export sink
   delete, d    Delete export sink
   list, l      List export sinks
   help, h      Shows a list of commands or help for one command

OPTIONS:
--help, -h show help - After enabling the feature, you can find the export-related commands by running
-
Run the
tcld n export gcs createcommand and provide the following information:- —namespace
- —sink-name
- —service-account-email
- —gcs-bucket
- For Example:
tcld n export gcs create -n test.ns --sink-name test-sink --service-account-email test-sink@test-export-sink.iam.gserviceaccount.com --gcs-bucket test-export-validation` -
Check the status of this command by either viewing the Namespace Export status in the Temporal Cloud UI or using the following command and looking for the state of “Active”.
tcld n export gcs g -n test.ns --sink-name test-sink
{
	"name": "test.ns",
	"resourceVersion": "b954de0c-c6ae-4dcc-90bd-3918b52c3f28",
	"state": "Active",
	"spec": {
		"name": "test-sink",
		"enabled": true,
		"destinationType": "Gcs",
		"s3Sink": null,
		"gcsSink": {
			"saId": "test-sink",
			"bucketName": "test-export-validationn",
			"gcpProjectId": "test-export-sink",
		}
	},
	"health": "Ok",
	"errorMessage": "",
	"latestDataExportTime": "0001-01-01T00:00:00Z",
	"lastHealthCheckTime": "2024-01-23T06:40:02Z"
}
Monitoring after Export is enabled
- Export Job Execution: The Export job will run as an hourly process, starting at 10 minutes past each hour. This means that closed Workflow history data will be exported to your designated bucket approximately 1 hour after the closure of each Workflow. Please note that the export process may take some time to complete.
- Files in GCS Bucket: After the first hour, you should check your GCS bucket to see if the exported Workflow history files have landed. These files will contain relevant data from closed Workflows. The exported files will be located in your GCS bucket, following the specified format:
//[test-bucket]/temporal-workflow-history/export/[Namespace]/[Year]/[Month]/[Date]/[Hour]/[Minute]/
- UI Updates: Within the UI, you will find two important pieces of information
- Last Successful Export: This indicates the date and time when the most recent successful export occurred. It provides an overview of when the export process was last executed successfully.
- Last Status Check: This refers to an internal Workflow that performs periodic status checks on the Export process. It displays the date and time of the most recent status check, ensuring that the export functionality is continuously monitored.
By periodically reviewing the GCS bucket for exported files and checking the relevant information in the UI, you can stay updated on the progress and status of exports.
Working with exported files
The proto schema is defined in https://github.com/temporalio/api/blob/master/temporal/api/export/v1/message.proto. You could build your own custom deserializer for it. You can find sample go code to reference when you want to deserialize export file in the Appendix section of this document.